Website Settings
Sellista provides comprehensive settings to customize and manage your website effectively. Here is a detailed guide to each section within the Website Settings:
Theme
The Theme settings allow you to customize the visual appearance of your website, ensuring it aligns with your brand identity.
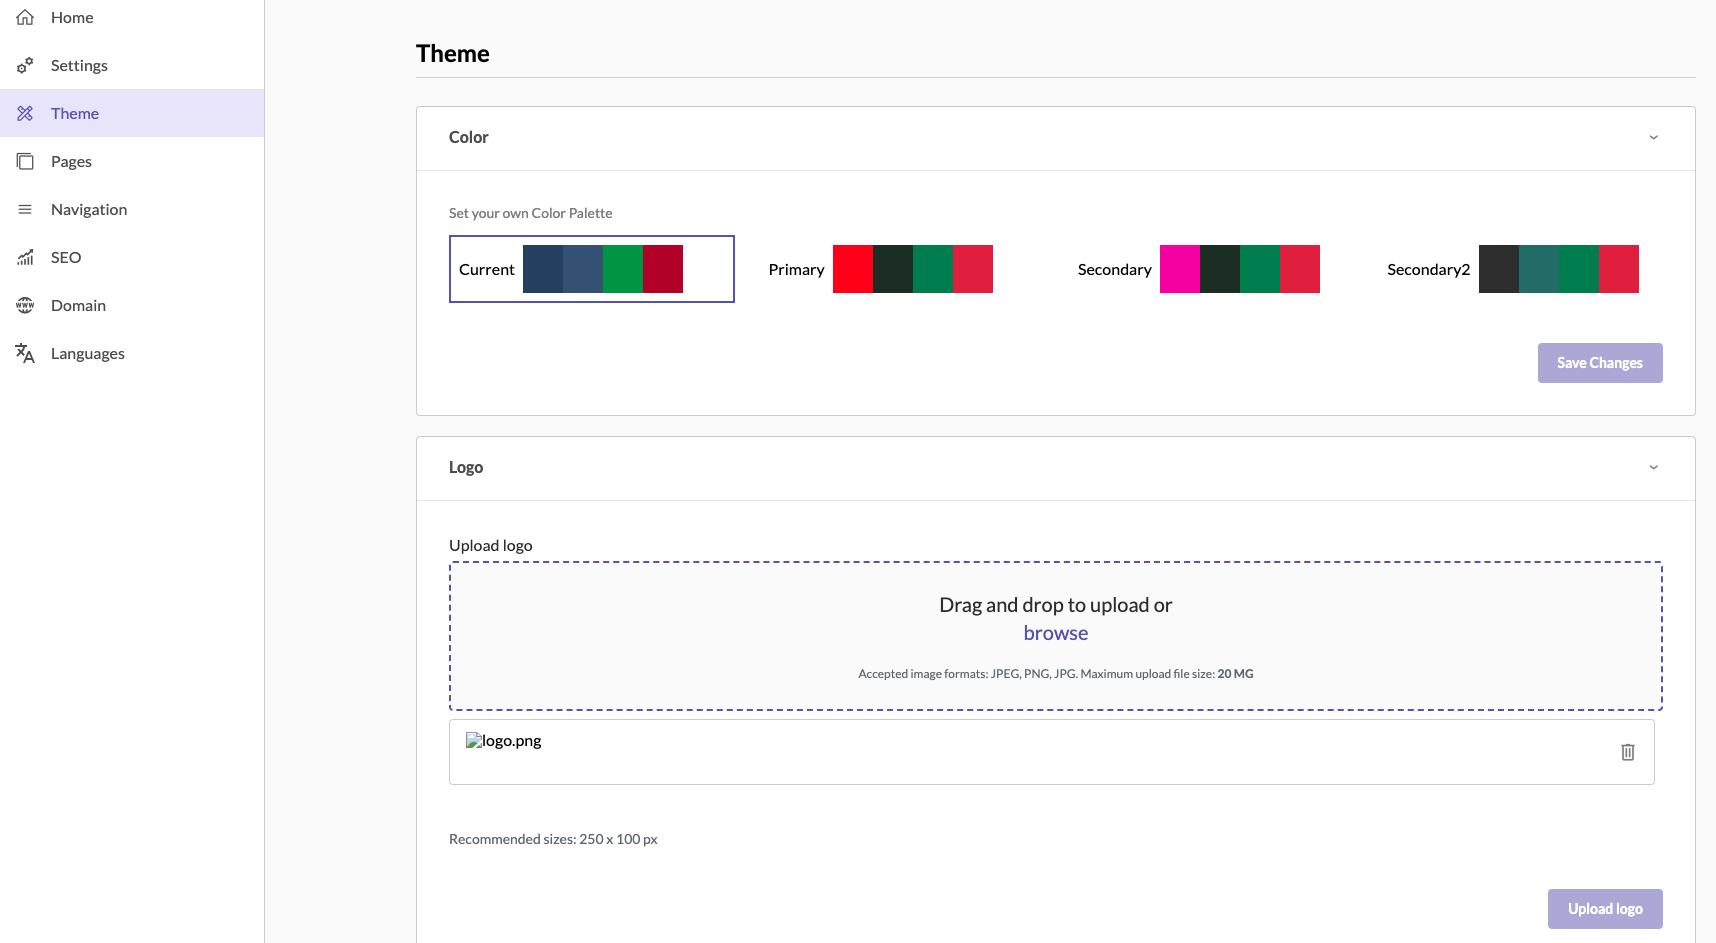
Customization Options:
-
Color Palette:
- Current: Displays the currently selected color scheme.
- Primary and Secondary Colors: Choose your primary and secondary colors to reflect your brand.
- Custom Palette: You can set your own custom color palette to further personalize your website.
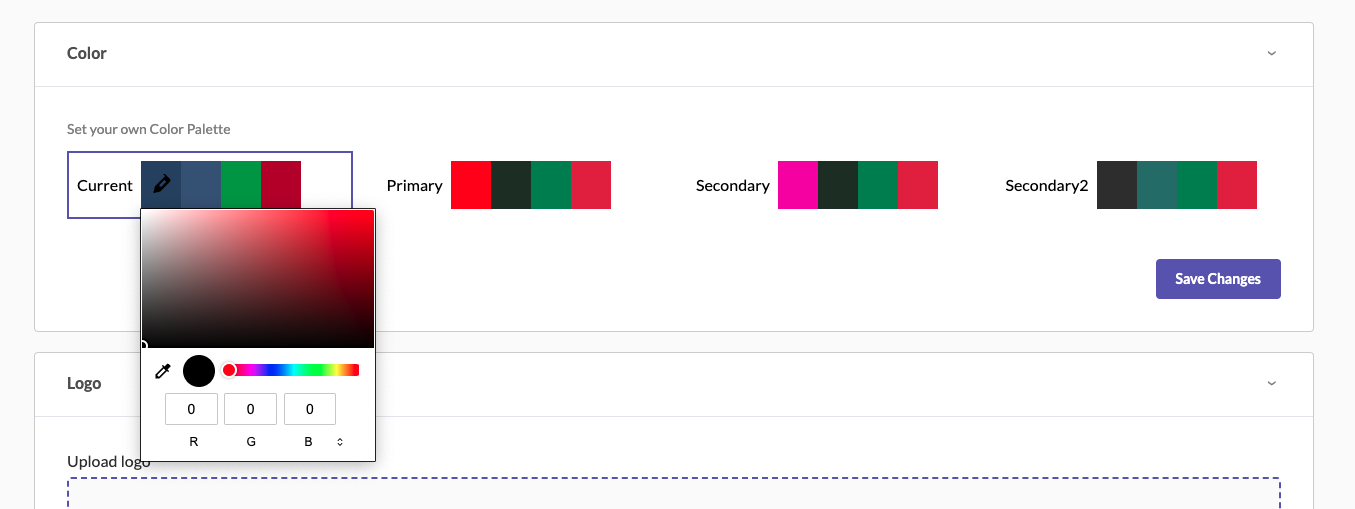
- To change the colors, click on the color boxes and select your desired colors. Click Save Changes to apply them.
-
Logo:
- Upload your store's logo by dragging and dropping the image file into the designated area or by browsing your computer.
- Accepted formats: JPEG, PNG, JPG. Maximum file size: 20 MB. Recommended size: 250 x 100 px.
- Click Upload Logo to finalize the upload.
-
Favicon:
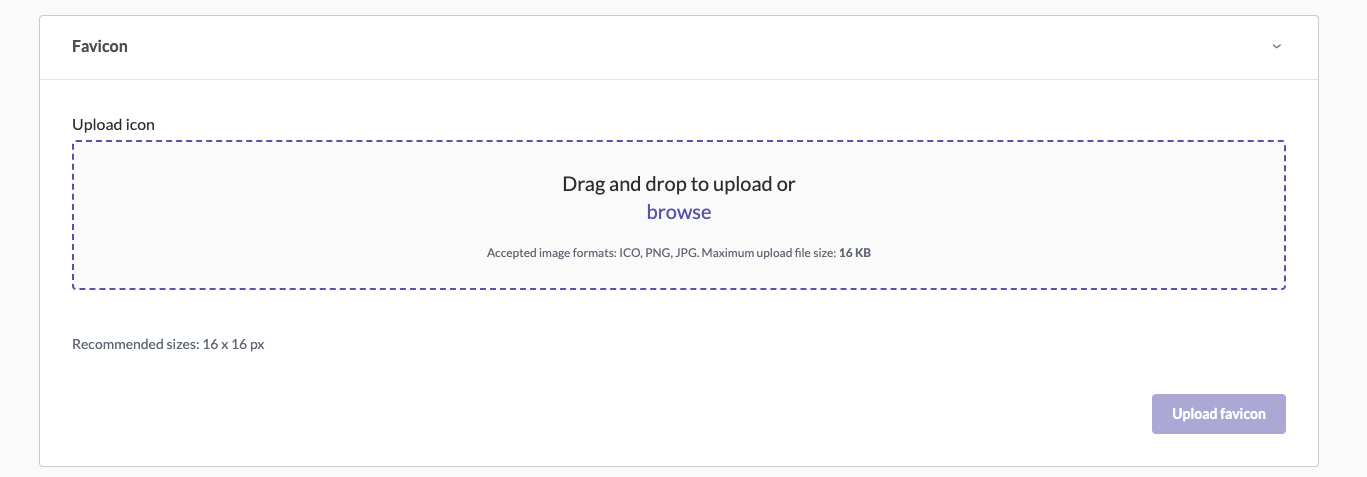
- Upload a favicon (a small icon displayed in the browser tab) by dragging and dropping the file or browsing your computer.
- Accepted formats: ICO, PNG, JPG. Maximum file size: 16 KB. Recommended size: 16 x 16 px.
- Click Upload Favicon to save the changes.
Pages
The Pages section allows you to create and manage the static pages of your website, such as 'About Us', 'Contact Us', etc.
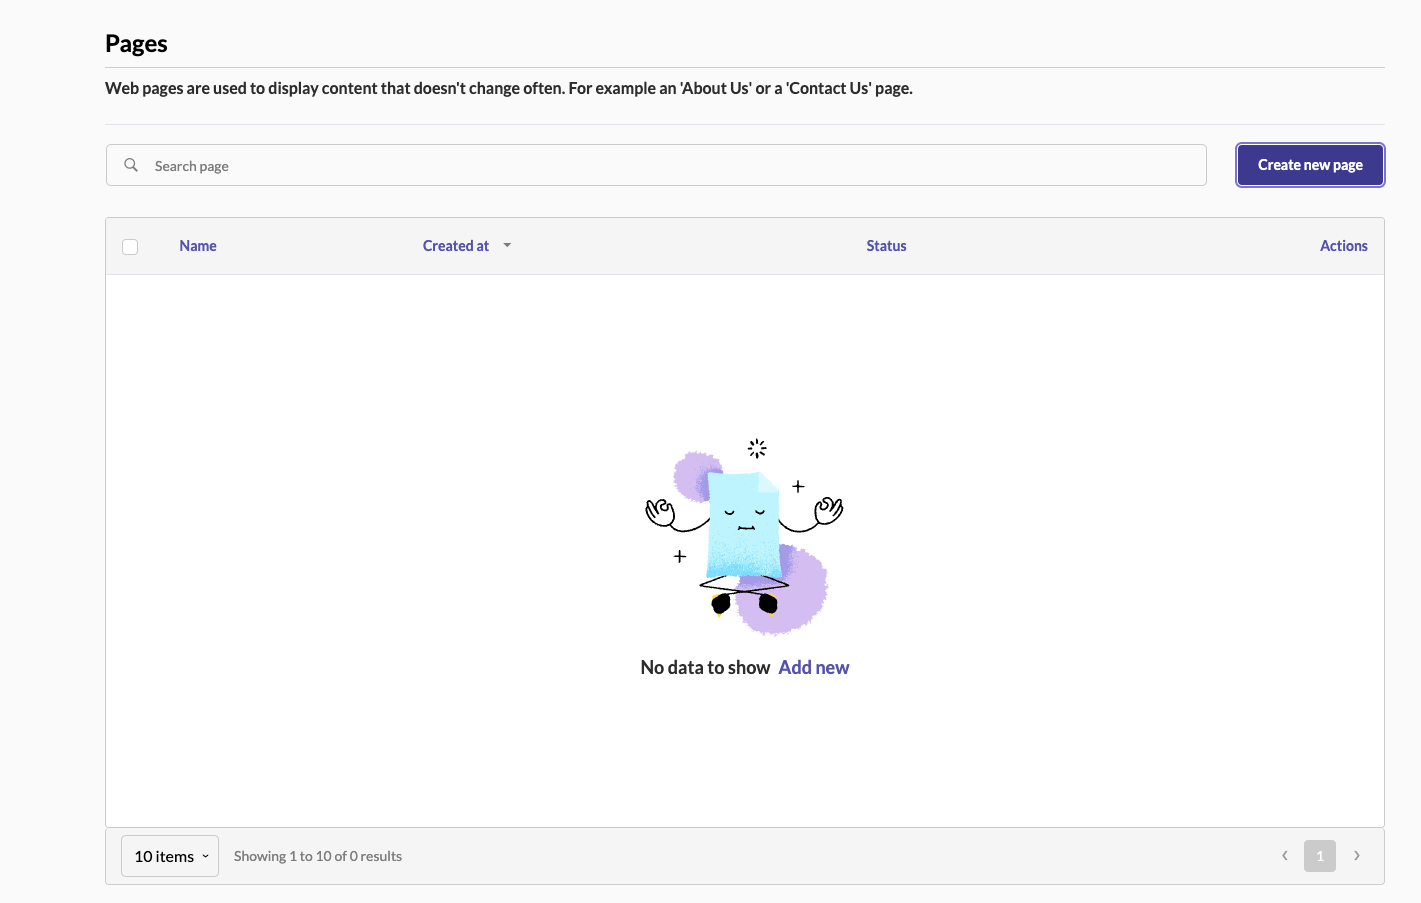
Creating a New Page:
-
Click on Create New Page.
-
Fill in the page details:
- Page Name: Enter a name for your page.
- Page URL: Specify the URL slug for the page (e.g., /about-us).
- Header and Footer: Check the boxes if you want the page to include the site’s header and footer.
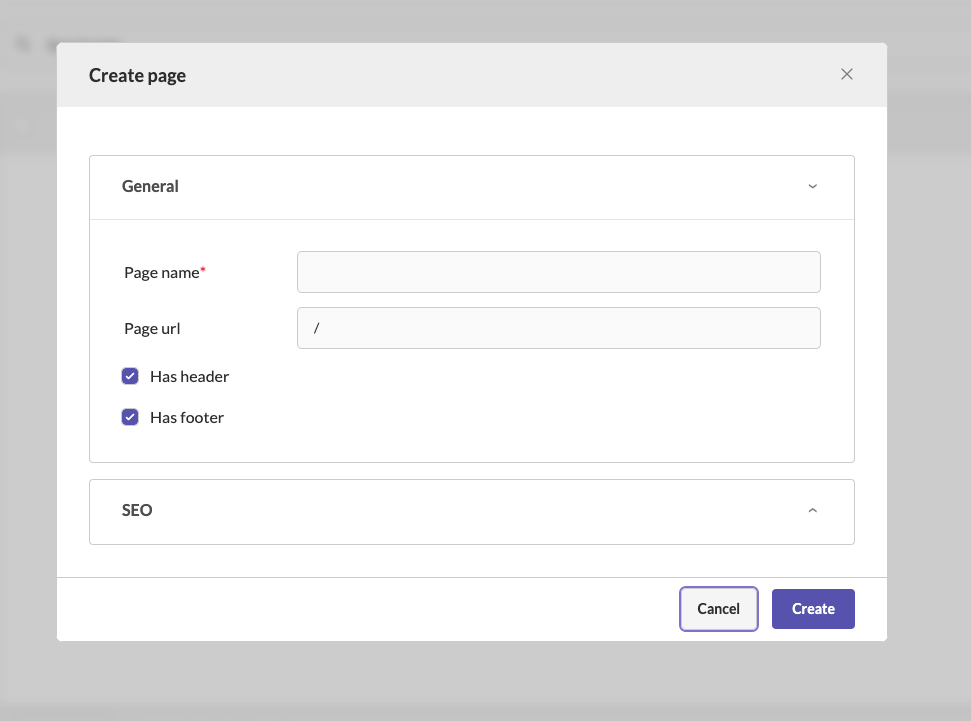
- SEO Settings:
- Page Slug: Ensure it is unique and only contains lowercase letters, numbers, or dashes.
- Meta Title: Enter the title of the page (max 60 characters), which appears in search engine results.
- Meta Description: Write a brief description of the page (max 160 characters).
- Robots and Crawling: Select options to control how search engines crawl and index the page.
- Click Create to add the page to your website.
Managing Existing Pages:
- You can view a list of all created pages. Use the Actions menu to edit, delete, or change the status of any page.
Navigation
The Navigation settings allow you to configure the main menu and footer links, ensuring easy navigation for your site visitors.
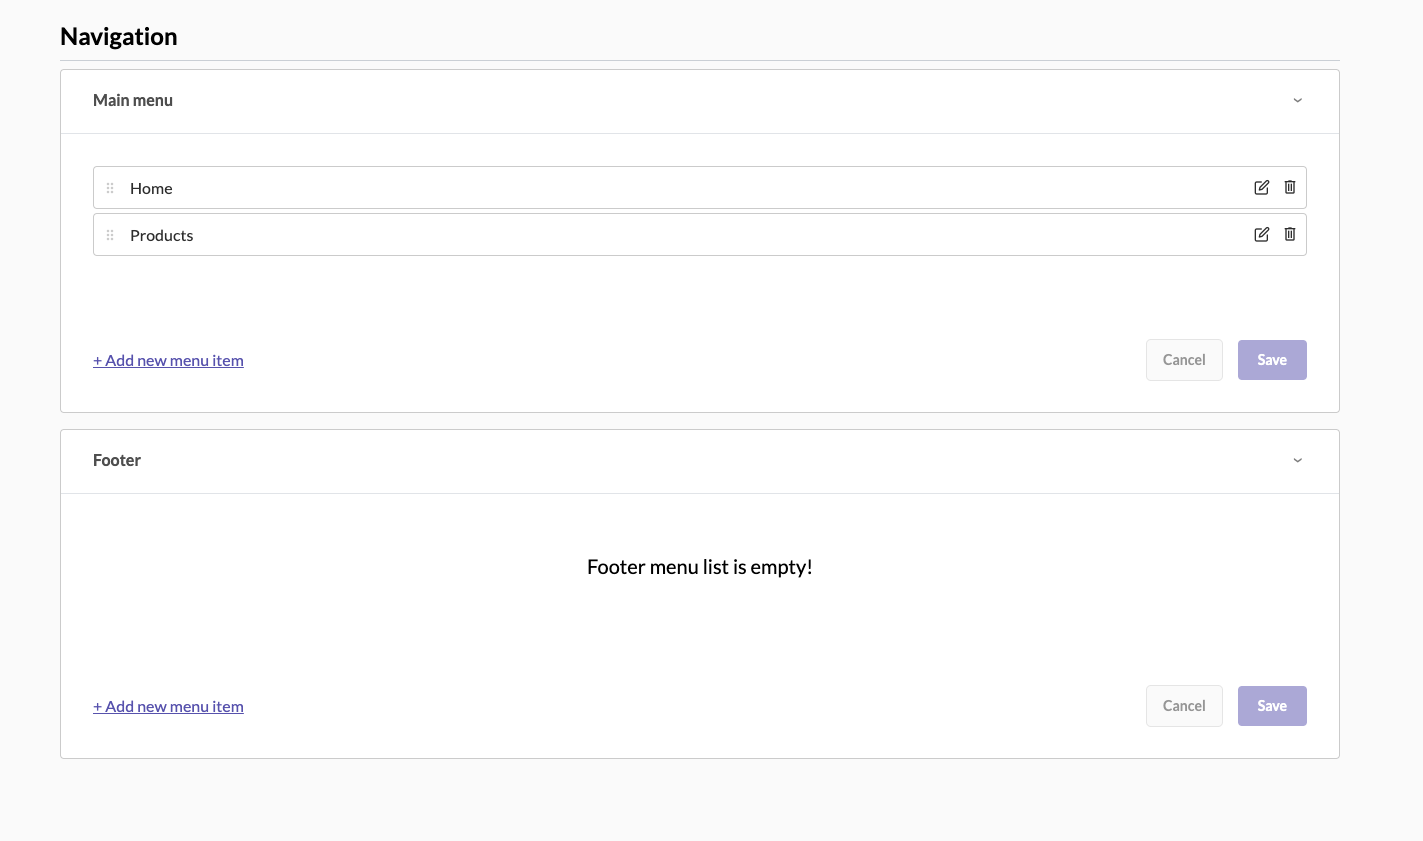
Main Menu:
- Add, edit, or reorder the main menu items.
- To add a new menu item:
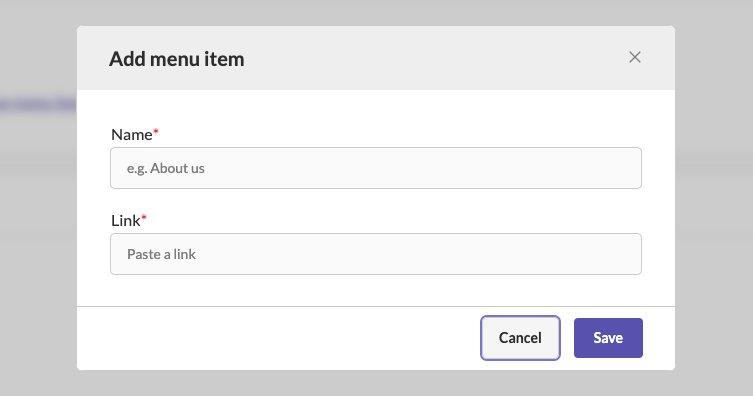
- Click Add New Menu Item.
- Enter the Name (e.g., About Us) and Link (URL path or external link).
- Click Save.
Footer Menu:
- Similar to the main menu, you can add links that will appear in the footer of your website.
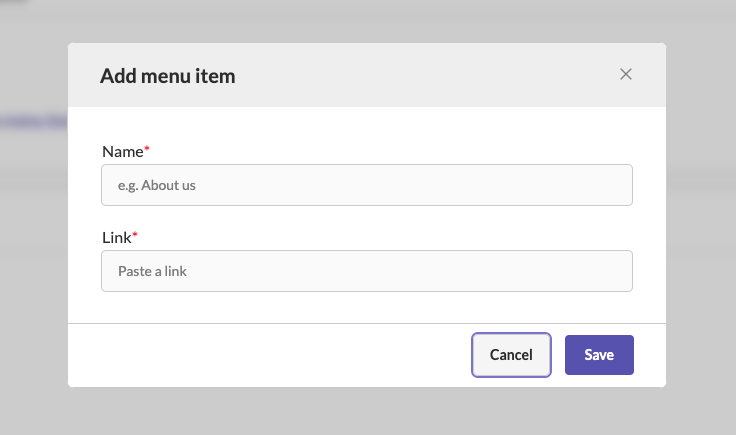
- Click Add New Menu Item, enter the details, and save the changes.
Reordering Menu Items:
Drag and drop menu items to rearrange their order in both the main menu and the footer.
SEO
SEO (Search Engine Optimization) settings help you optimize your website to improve its visibility on search engines.
SEO Options:
- Site Meta Title: Set a default meta title for your website.
- Site Meta Description: Write a default meta description for your website.
- Robots.txt and Sitemap: Configure the robots.txt file to manage how search engines crawl your site and generate a sitemap to improve indexing.
Domain
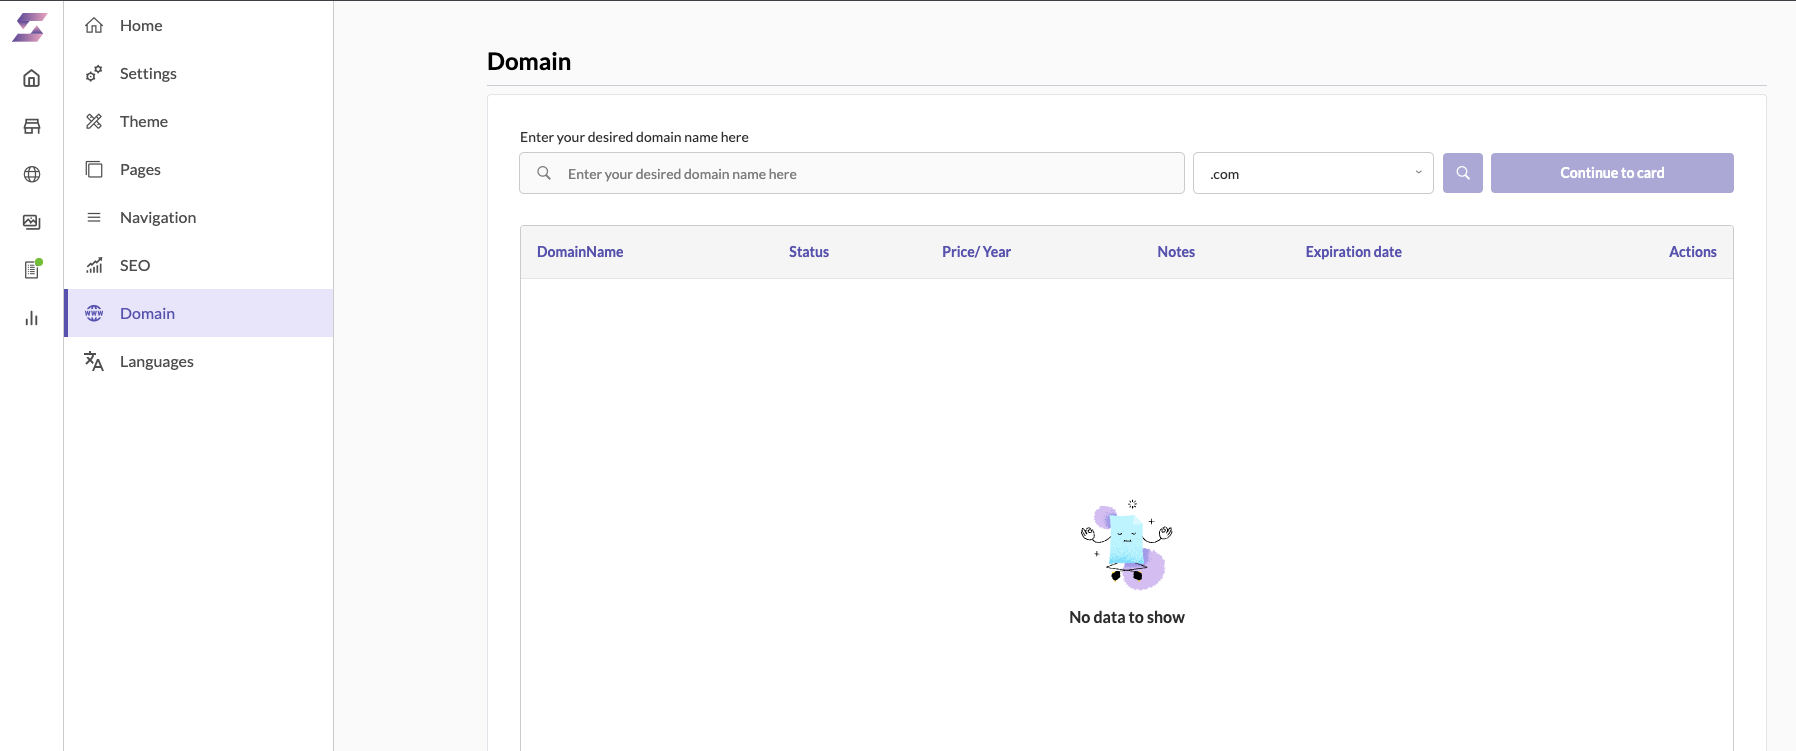
The Domain settings allow you to connect a custom domain to your Sellista website, enhancing your brand identity and providing a professional touch.
Connecting a Custom Domain:
Click on Domain in the settings menu. Enter your custom domain name. Follow the instructions to update your domain’s DNS settings. This typically involves adding CNAME or A records provided by Sellista. Verify the domain connection to ensure it is properly linked to your Sellista website.
Languages
The Languages section allows you to manage the languages available on your website, enabling you to reach a broader audience.
Managing Languages:
- Add Language: Select from a list of available languages to add to your website.
- Default Language: Set the default language for your website.
- Translations: Manage translations for your website content to ensure all text is appropriately translated.
By utilizing these settings, you can effectively customize and optimize your Sellista website to provide a seamless and engaging experience for your customers.